
Open the Website Builder by selecting Website from the navigation menu. Then click Edit Website.

Adding an Album
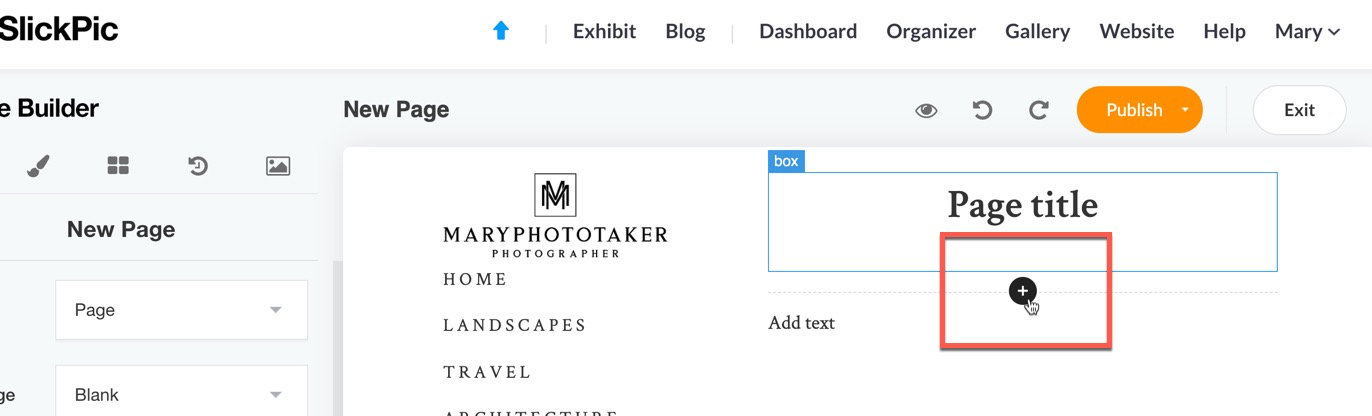
Now, click the “+” icon below any block on the page where you’d like to add a new element.
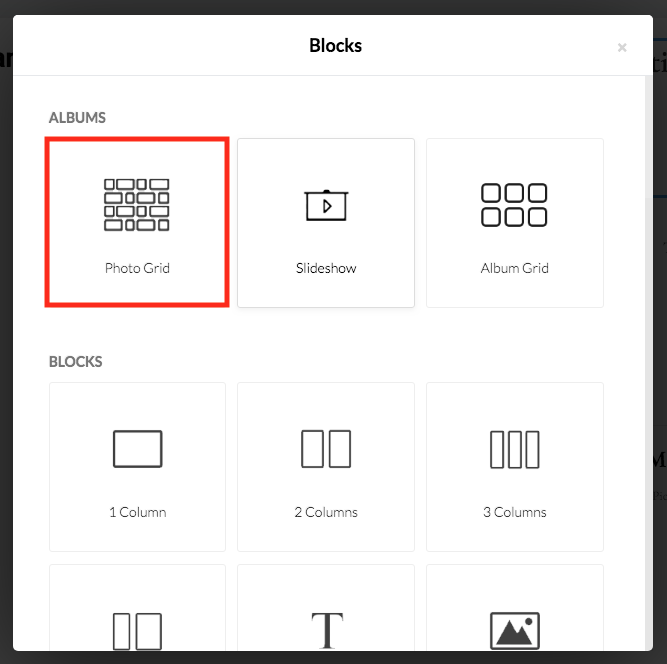
From the Blocks menu, select Album. Then, choose the album you want to add.
All photos that you upload to SlickPics will be stored in albums. It doesn’t matter if you uploaded your albums from the Gallery, the Website Builder, Lightroom, or from any other source, you will find them here under Existing Albums.
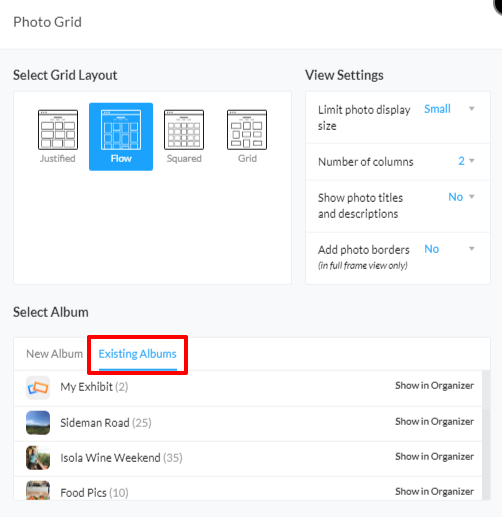
You can also create a new album here and add photos. Either drag and drop them directly into the album, or upload from your computer.
Album Settings and Layout
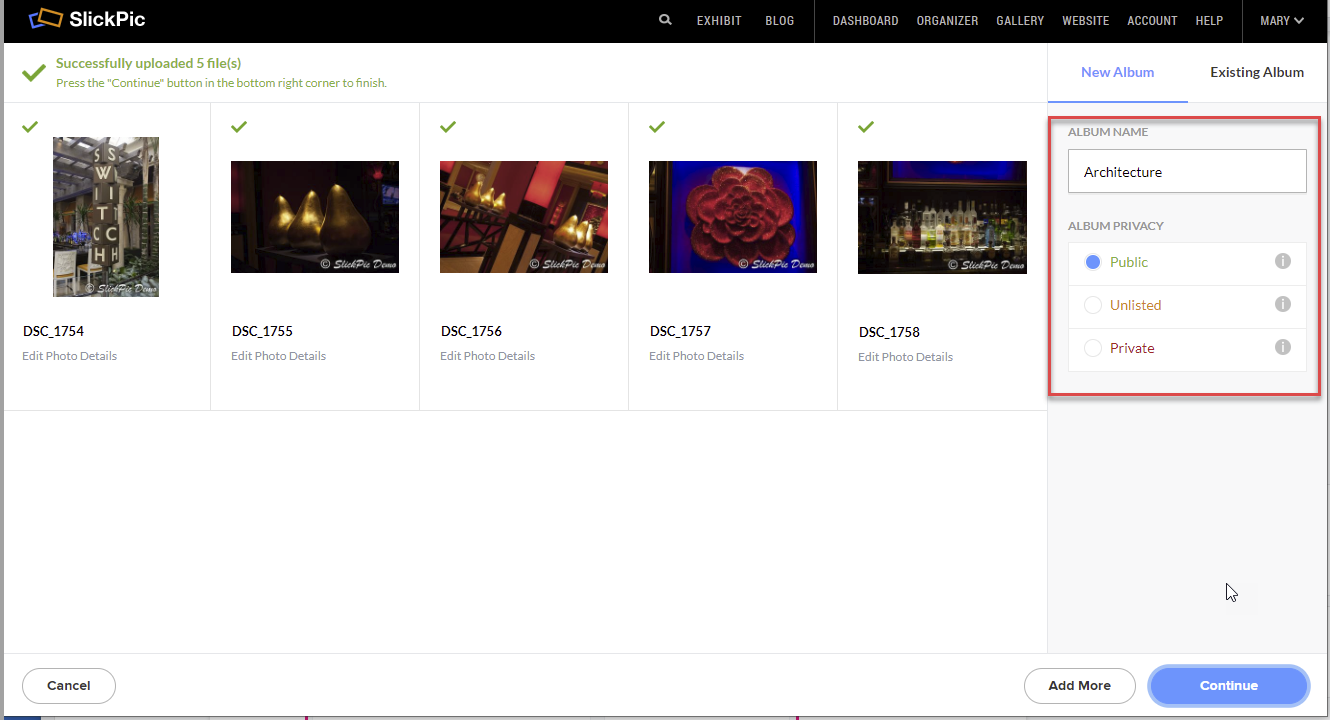
Add a name to your album and adjust the privacy settings if needed.
Once you have added your photos and saved your album, you can change the way your photos are presented on your website. From the dashboard, click Change Album and you will see different layout options, such as changing the Grid Layout or the View Settings.
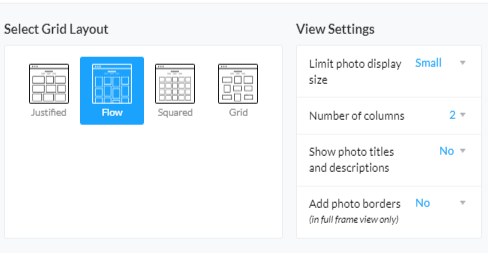
Limiting the photo display size can be useful if you don’t want users taking full-size screenshots of your images. Adding photo borders will also effectively reduce the size of the displayed photos by putting more space between the photos and the edges of the screen (no matter what size screen is being used to view the photos). Note that this option only affects photos viewed in full screen. If you choose to show photo titles and descriptions, these will be taken from the Gallery and can be edited in the Organizer.
You have many customization options to get your album looking great on your website.