You can add borders to your photos when they are displayed in your Gallery or on your Portfolio Website in full size. To add permanent borders to your photos, see the Watermarks sections of the help site.
Example:

Portfolio Website
In the website builder, navigate to the album you want to edit and open the photo grid menu by selecting Change Album.
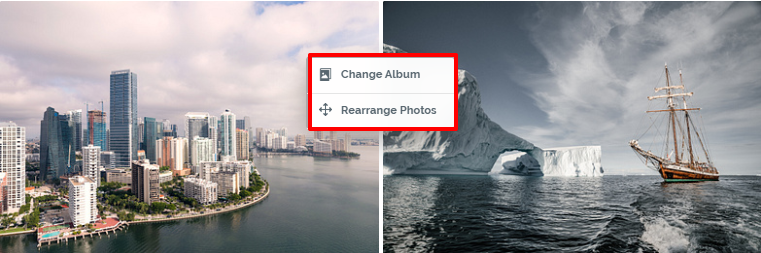
Under View Settings, go to the Add Photo Borders dropdown and choose from no border, small, medium or large.

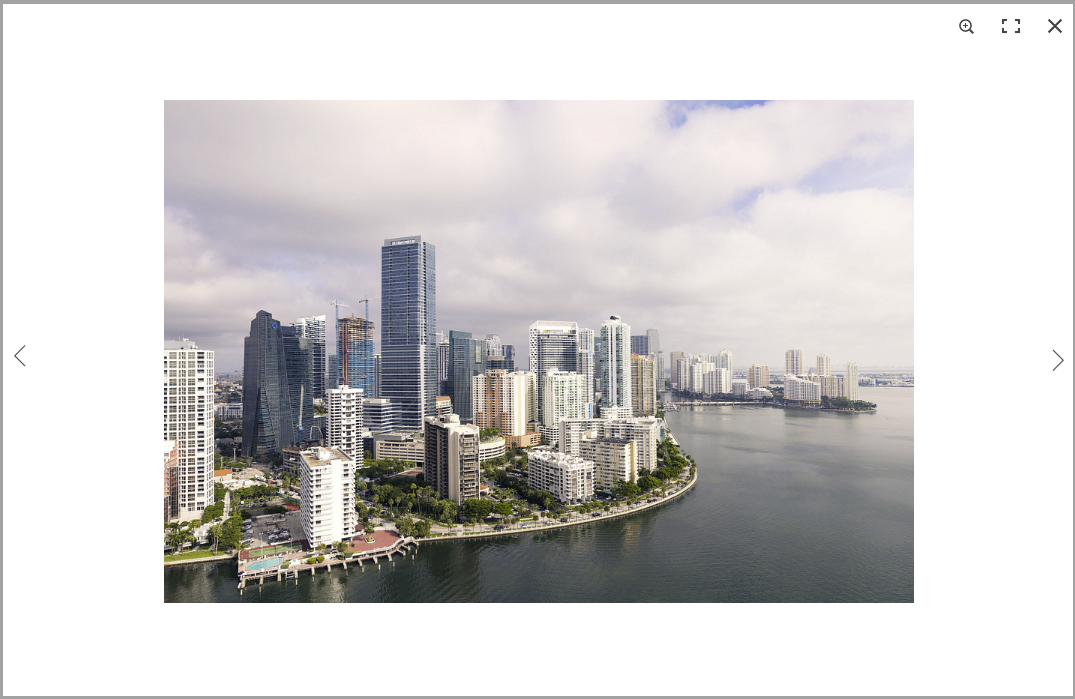
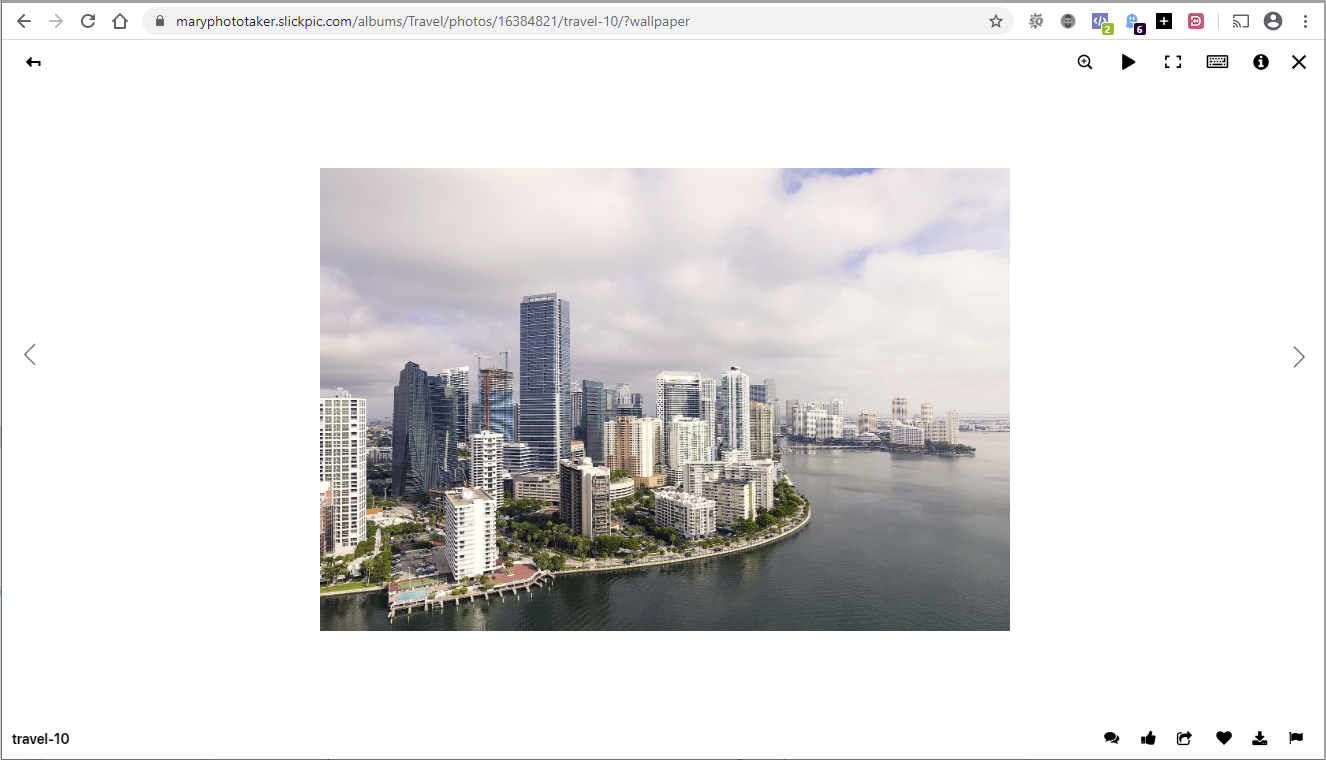
Now, if you view the live version of your site and click one of the photos from the album, it will appear with a border around it. Notice that it doesn’t affect the photo thumbnails.
Gallery
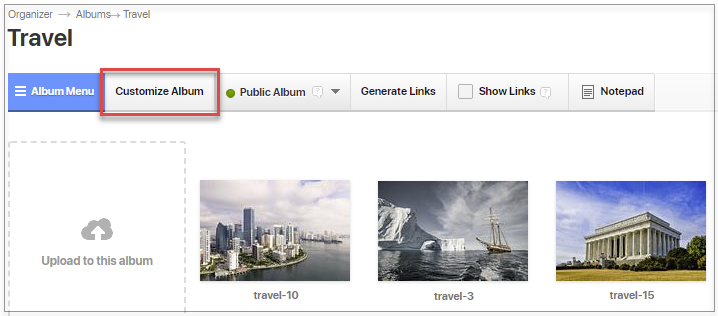
To add borders to photos in the Gallery, navigate to the album you want to edit and select Customize Album.
In the Appearance section, in Add photo borders, choose from no border, small, medium or large. Note that the size refers to the size of the border and not the photos, which will be smaller the larger the size of the border.
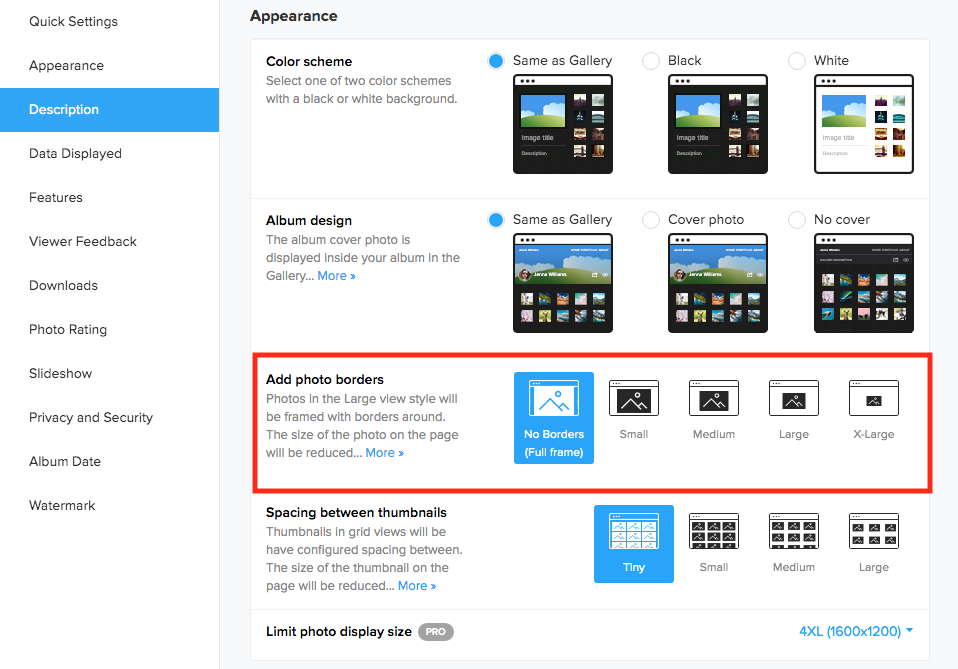
Go to View in Gallery to see how the photos look with the applied borders.
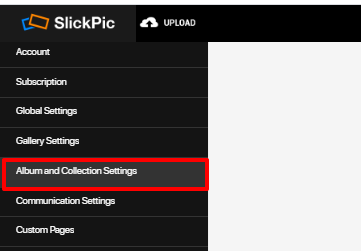
You can add borders as a default setting for all new albums in Account Settings, under Album and Collection Settings.