
Create an album with the photos you want to add to your listing (see How to Upload an Album), or select individual photos by clicking the top-left checkbox on the photos you want to add.
Creating a Link of your Photos
When you have selected the album or photos you want to add, click Generate Links.

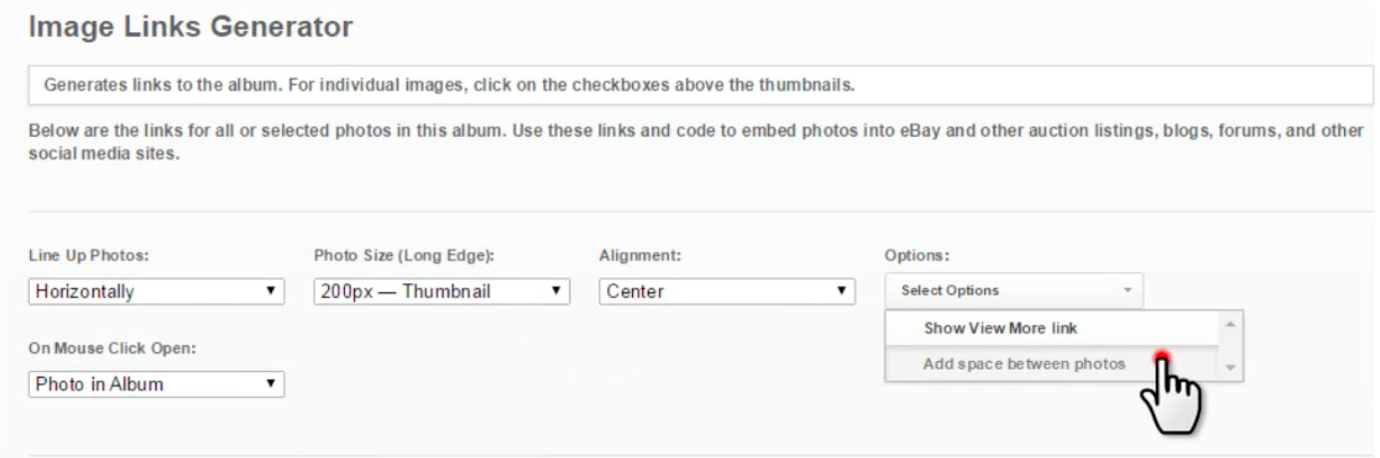
In the Image Links generator choose from some different display options for your photos.
- Choose whether your photos will line up horizontally or vertically
- Choose the size you wish to display your photos. Note the number of pixels describes the longest edge of your photo
- Choose where to *align your photos; left, right, center, etc
- In options, you can include a ‘View more’ link if you are adding a lot of photos
- You can also choose to add a space between photos here
- In the *On Mouse Click dropdown you can choose what happens when a user clicks on your photo. For example, you can choose to send them to the album in your gallery. This is a good way of sending more traffic to your site.
*Note that these options may not be supported by your blog hosting site so it’s important to check how this looks once you copy the code across.
When you have chosen your display preferences you can see how they look in the preview window at the bottom. Feel free to keep adjusting until you are happy.
Next, click Copy Code to grab the html code.

Adding Your Photos to Your Blog
Go to your WordPress account or wherever your blog is hosted and create a new post.
In the body of the post, simply paste the html code.
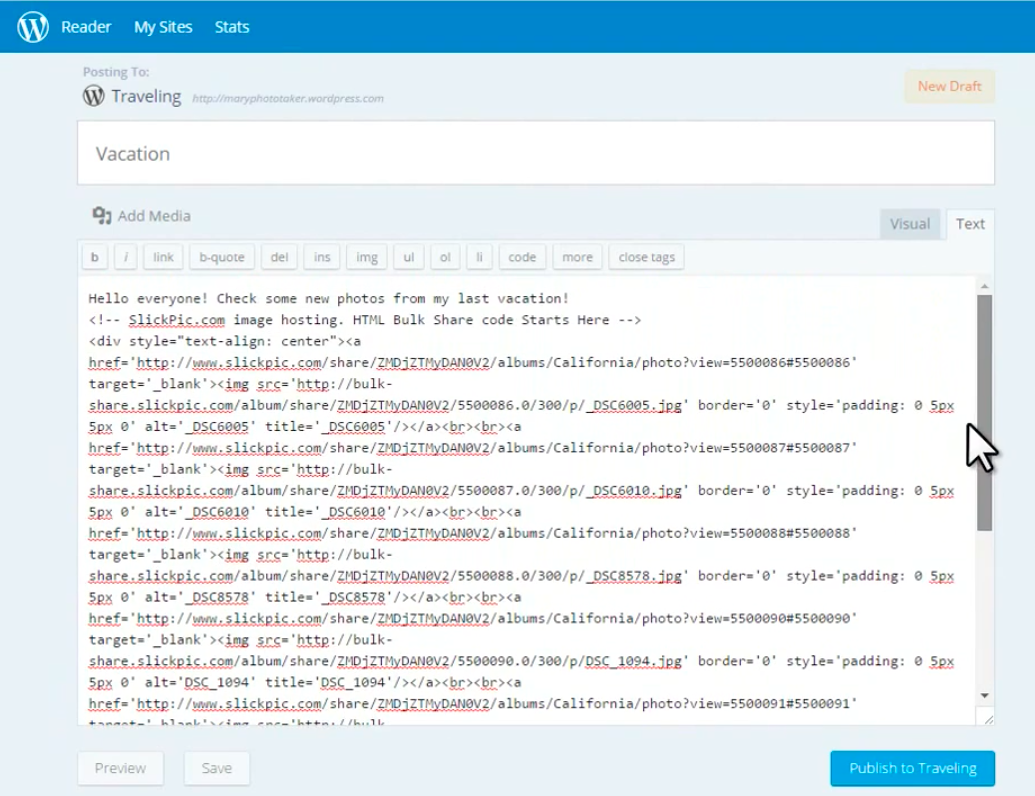
See how the photos look by switching from the html text view to visual.
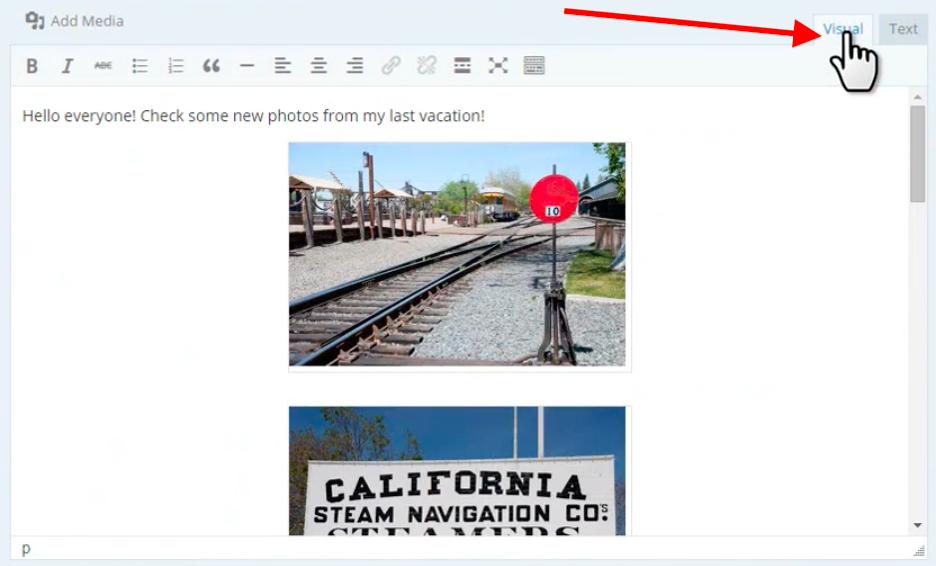
You can also preview the post to see how it will look to your visitors. When you are happy, publish your post.