You can create a photography store on your website where you can sell your prints. To set it up visit Your Store in your SlickPic Website Manager.

You will be asked for some details to set up your store. Use the menu on the right to navigate to the different areas.
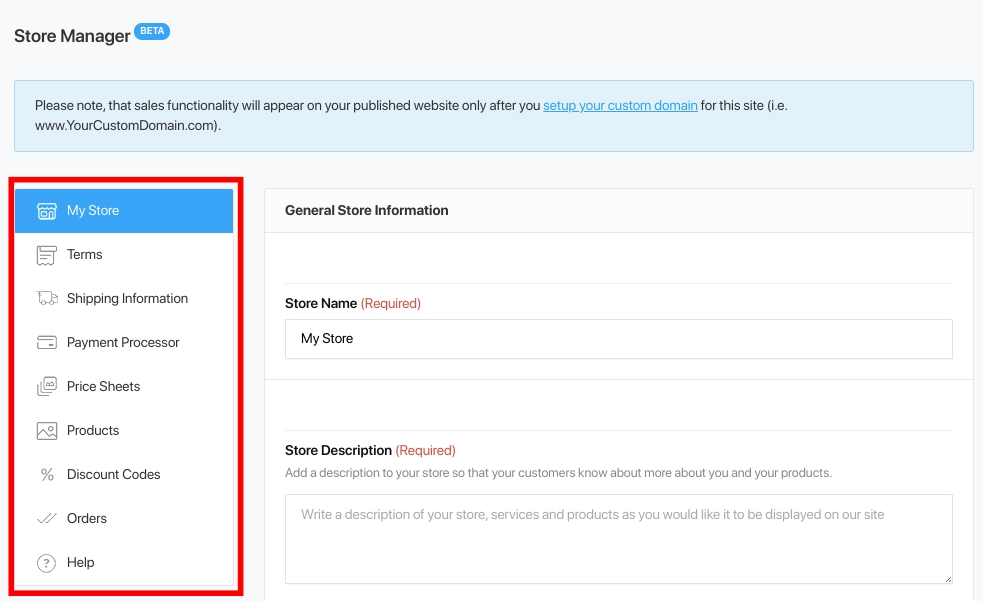
General Store Information
Store Name
This will be displayed on your site as the page name and menu item.
Store Description
This will show to the user on the shopping cart screen.
Store Currency
Make sure you have selected the appropriate currency for your store.
Sales Tax
Enable this automatically apply tax to your orders. Tax will be applied to the full amount of your orders, including shipping.
Amount
Enter the % of sales tax you would like to apply in accordance with your local jurisdiction.
Contact Email
Include an email that customers can contact you on.
Terms
As SlickPic, we can’t provide the terms and conditions for any purchases that happen on your site. We have provided links to some platforms offering customizable templates. We always recommended seeking legal advice for elaborating your own policies. You will need to provide T&Cs along with your privacy and refunds policy.
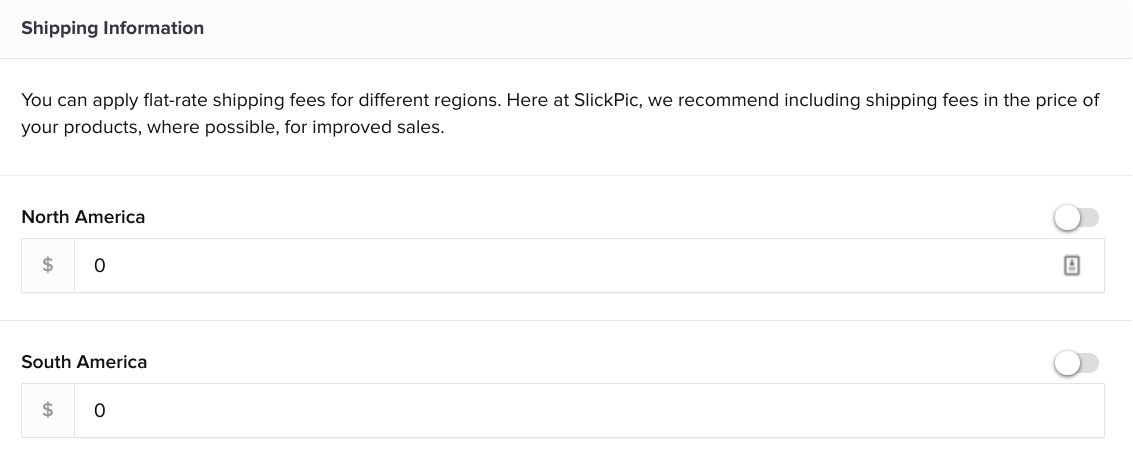
Shipping Information
You can apply flat-rate shipping fees for different regions. Here at SlickPic, we recommend including shipping fees in the price of your products, where possible, for improved sales.
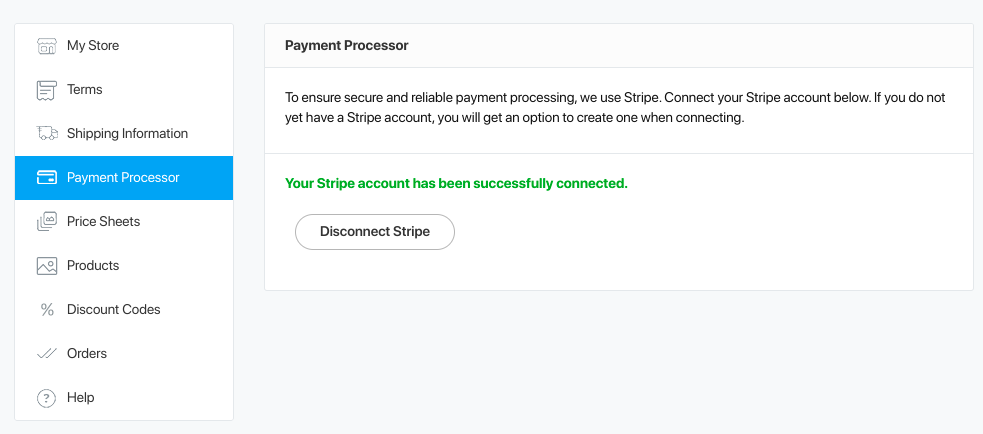
Payment Processor
At SlickPic we use Stripe for online transactions. If you already have a Stripe account, connect it by clicking the Connect button. You will be asked to input your account details. Click Save and you are done.
If you don’t yet have a Stripe account, click the Connect button and you will be able to create your account by filling in your details, and then connect it immediately.
Once you have connected it, you will see the message ‘Your Stripe account has been successfully connected’ on the payment details page.
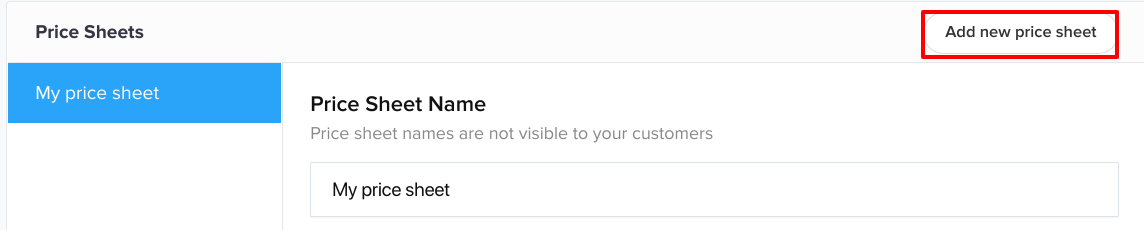
Price Sheets
Price sheets are where you can add new products or groups of products. Give your price sheet a name. The name will not be visible to your customers but will be useful for you to keep track. We recommend choosing the same name as the name of your sales page so that it is easy to find when you want to connect them.
Within your price sheet you can add products or groups of products. A product group can be used to add different sizes of the same print, for example. Add as many different photo configuration options as you want to offer e.g. for download, printed versions, with or without frames. For each product option, add a name, a description and a price.
When you enable one of your site pages for sales, you will need to connect it to a price sheet. To see how this works, you can see the article on How to Connect Your Store to Your Website.
For shipping details, you can choose whether to request these or not. If you have selected the Download option, then you won’t need the shipping details. For photos available for download, you can choose the size you want to allow them to be downloaded: original, small, medium or large.

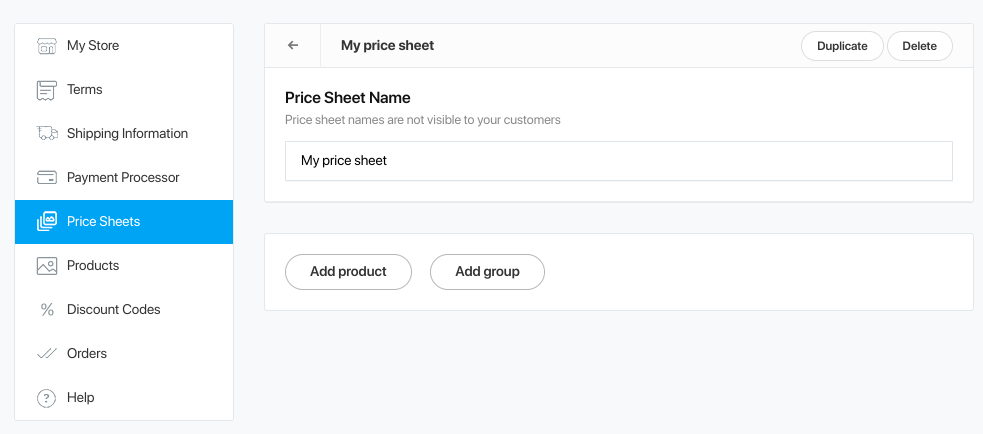
Click Add new product to continue adding products to your product sheet.
You may want to change your prices for a promotion or at specific times or year. In this case, you can create additional price sheets and connect them to your site whenever you want to apply your price change. Just click the Add Group button at the top-right.
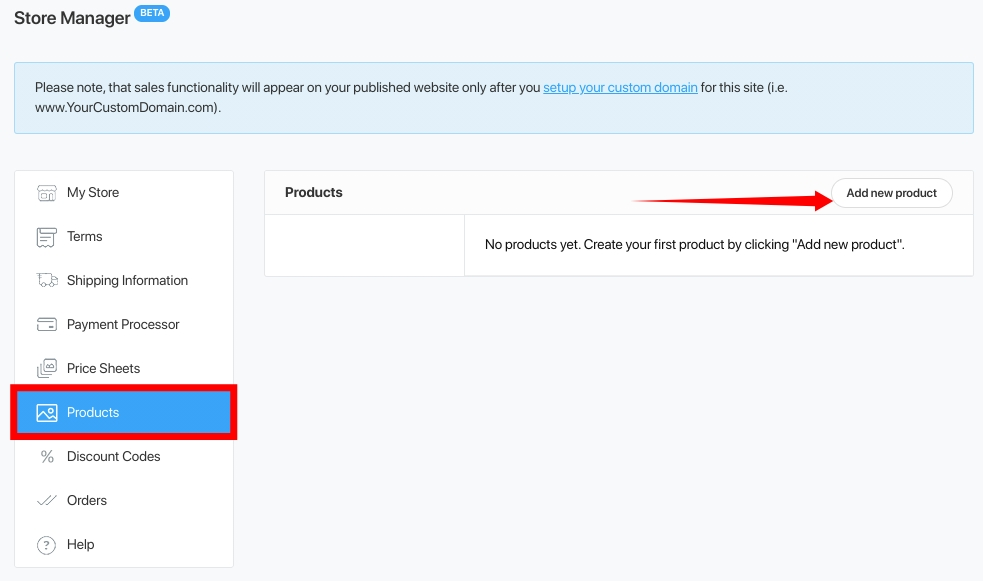
Products
Price sheets are great when you have an album of photos that you want to sell in similar configurations and with similar pricing. However, if you have photos that you want to sell in a specific configuration, you will need to do this in Products. Click the Add new product button at the top of the page.
In the form, give the product a name and click Select Photo to choose the photo you want to add as a product from your organizer.
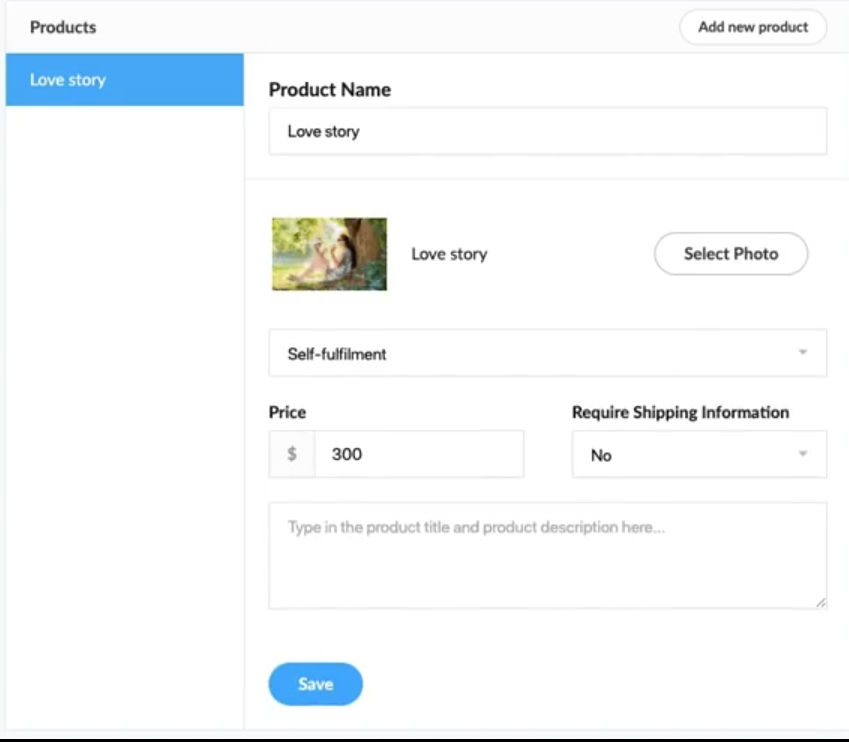
Choose whether you want your photo to be available for self-fulfilment or as a download (if you choose Download, you will also have to specify the download size).
Add the price, shipping details and a description of the product, then click Save.
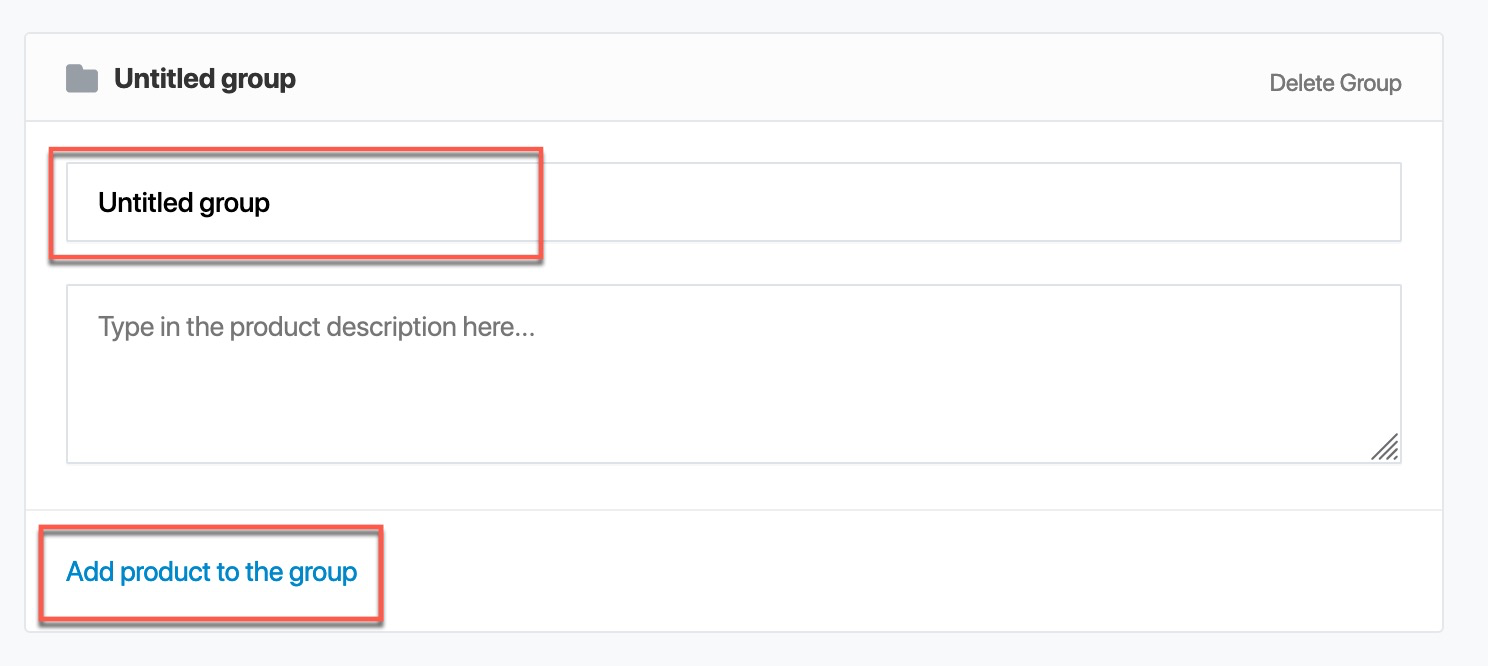
If you have a number of products that you want to group together for any reason, you can do this by adding a group. Just click Add Group and give the group a name and a description. Then click Add Product to select products for your group.
Discount Codes
You can create discount codes and assign them a % discount that customers can redeem in your shop. Give the discount a name e.g. BLACKFRIDAY50 then add a percentage.
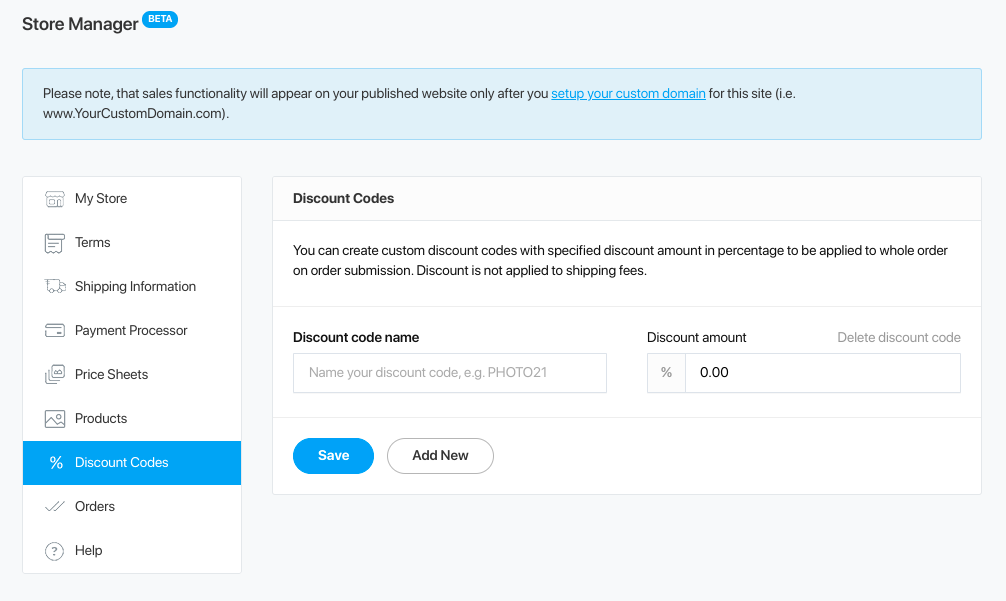
The user will be able to enter the code when completing their order and the discount will be applied to the order total, excluding any shipping fees.
Promote your discount code using the marketing pop-up on your site or via your social media.
Orders
The orders page is where you can see any current orders you have awaiting fulfillment. You can email the customer directly from here in case you want to check any details of the order or just to let them know it is on the way.
You can also view your past orders here.
Your store is now set up. When visitors visit your site, they will be able to find your store in the menu and click on it to view the prints you have selected for sale.
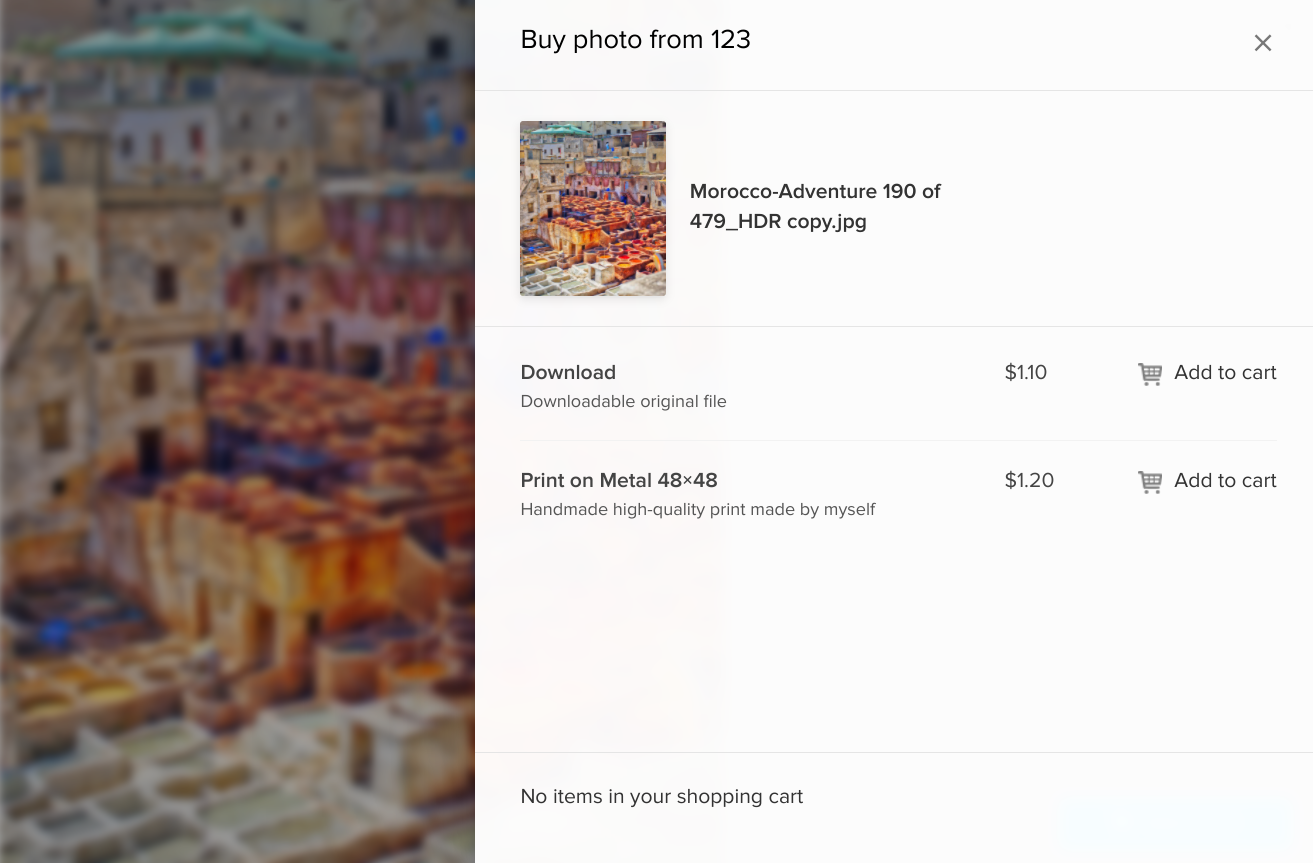
Clicking on any of the photos will open it up in big screen and they will see the button Add to Cart at the bottom right.
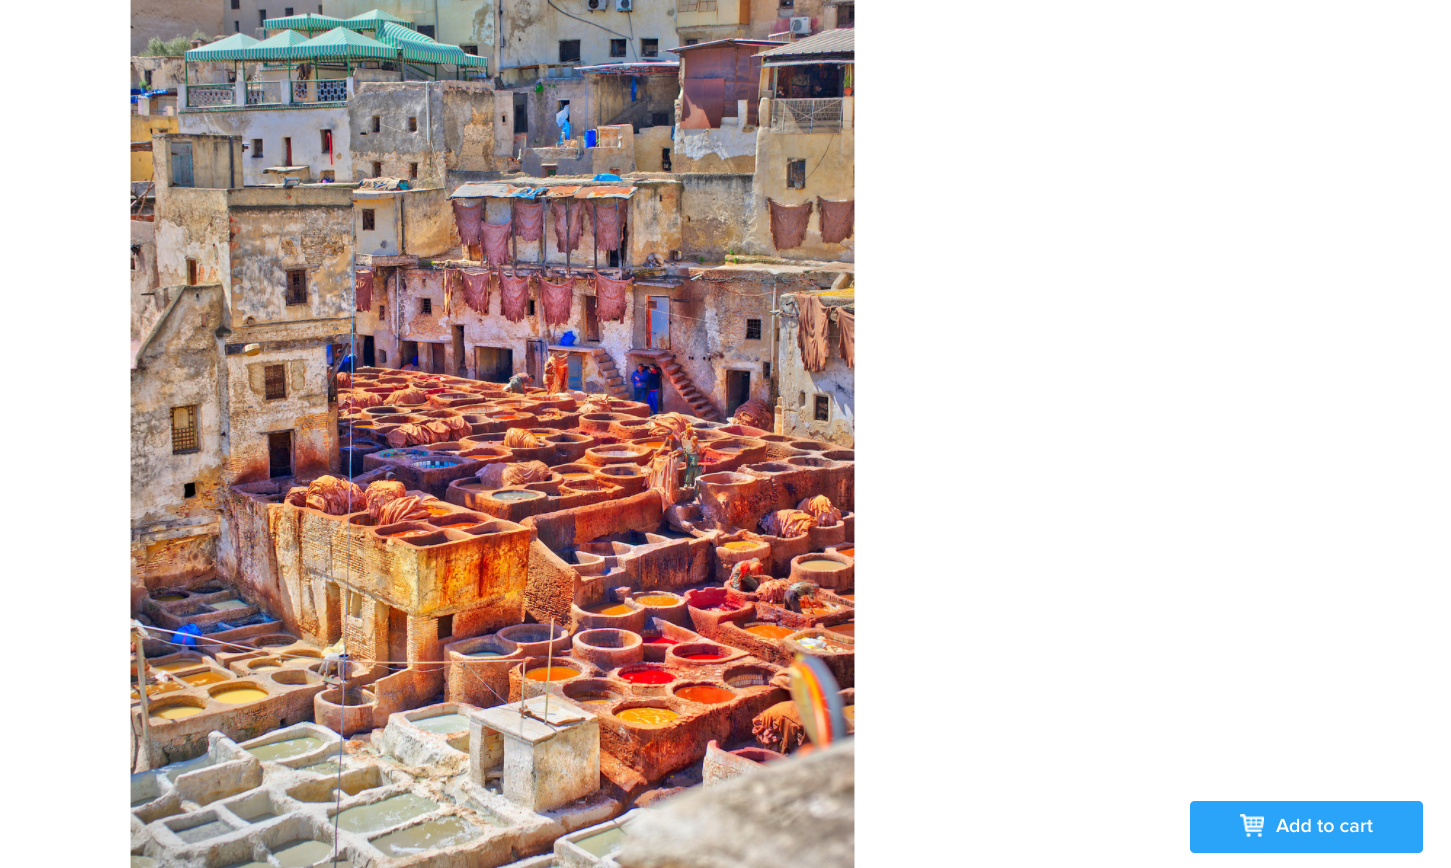
This will open the cart window to the side. Here users will be able to see the name, description and price that you added in the form along with the download and/or self-fulfillment options. If you added shipping details, they will also appear here.