If you want to showcase and sell prints and materials for your workshops, you can easily create product grids in the SlickPic store. Simply visit Your Store in the SlickPic Website Manager to get started.
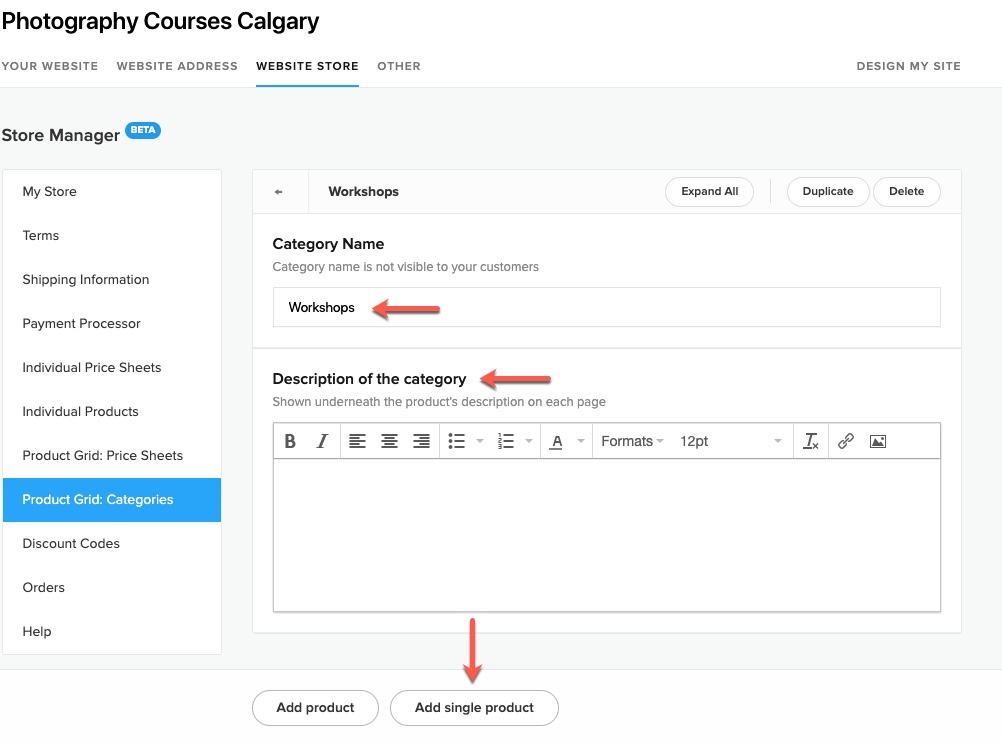
To begin, create your Product Grid: Categories and add them to your store by clicking “Add New“. Then, you can choose from a variety of templates and mock-ups to display your products in an attractive way. This will make it easy for customers to browse and purchase your workshop materials.

Name your categories and give them a brief description to let customers know what they can expect to find. Once you have your categories set up, you can add products to them by clicking on “Add Single Product“.
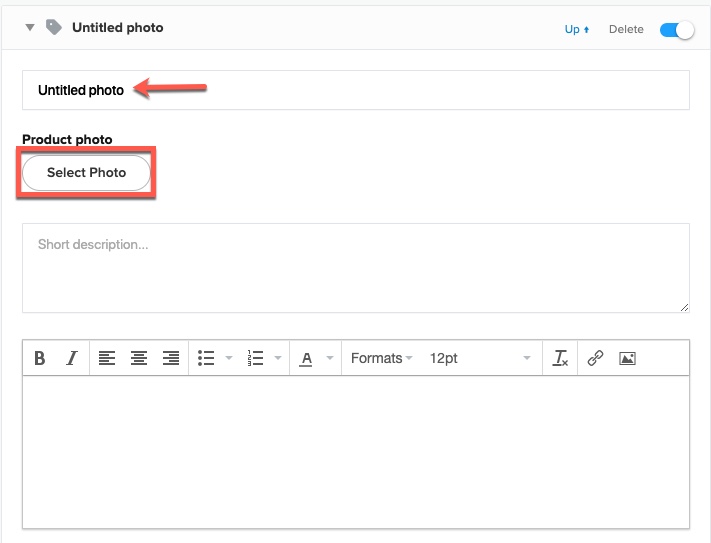
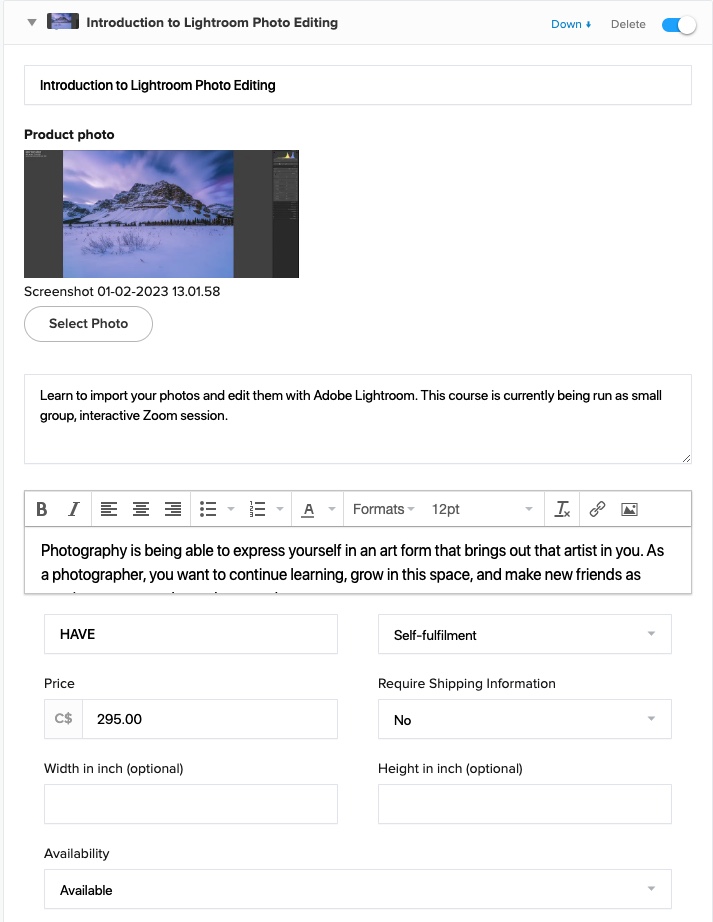
To make your workshop materials more appealing, add high-quality product photos and descriptions. Choose an eye-catching product photo and write a brief, informative description to help customers understand what your product is.
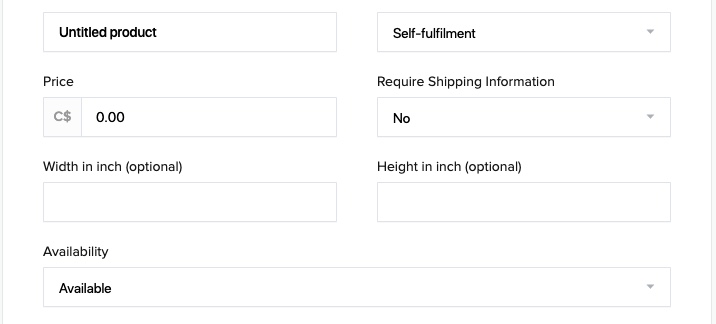
Give your product a name, select its category and shipping info, set the price and dimensions, and specify its availability. This will help customers find and buy your products easily.
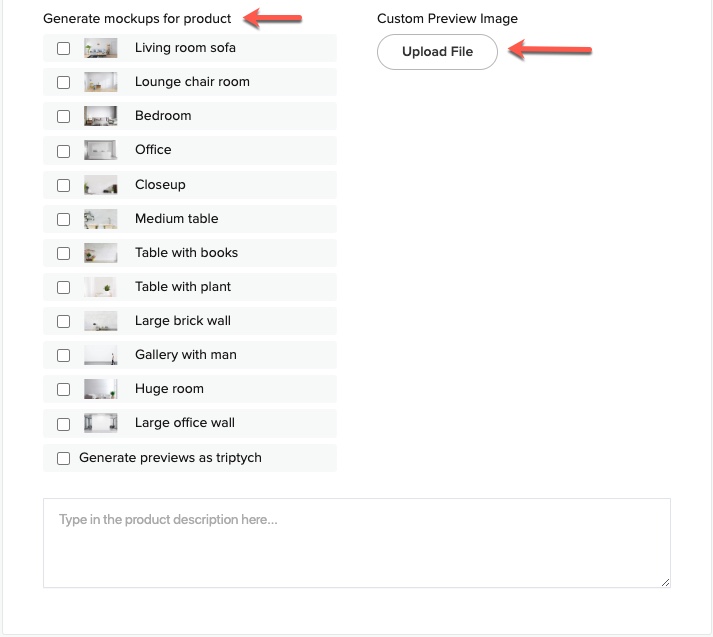
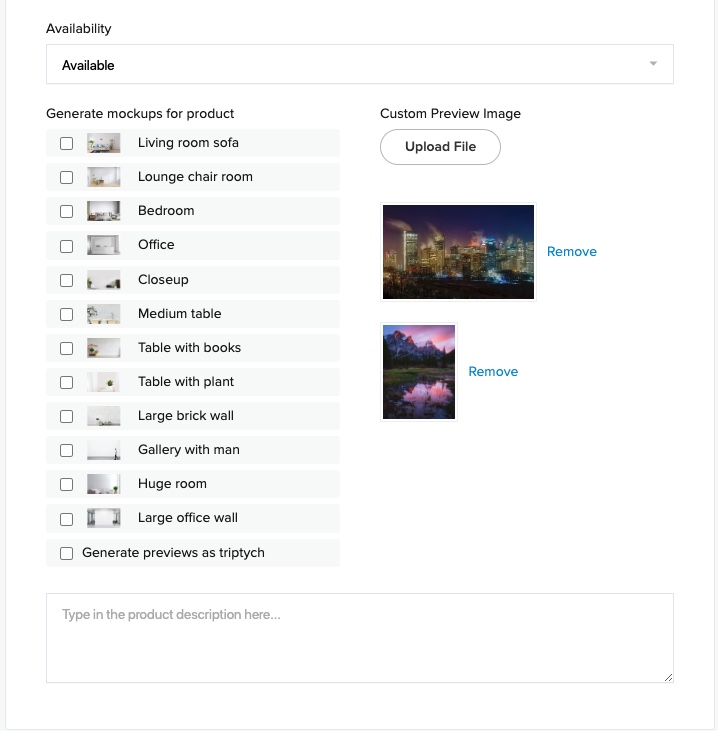
Choose the mockups you want to showcase your workshop products and add a custom preview image to be displayed alongside them.
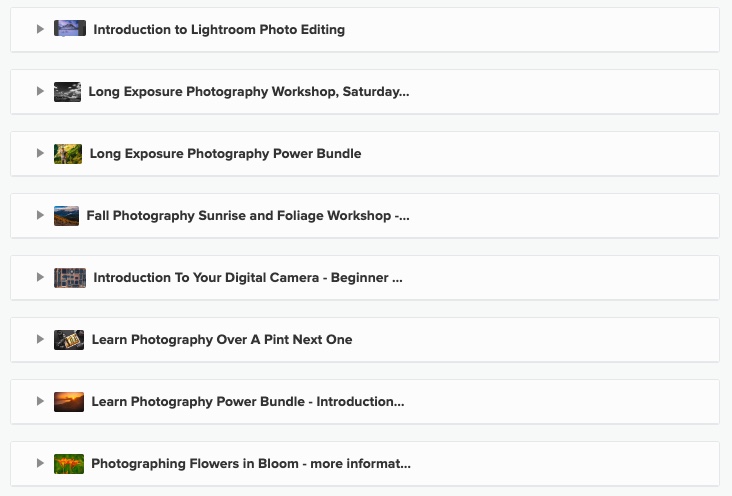
Take a look at the final sample of your workshop products, which includes all of the product information, photos, and mockups added. This will give you an idea of how your products will appear to customers in your SlickPic store.
To add additional workshop products to your SlickPic store, simply follow the same process and add them using the same steps as before.
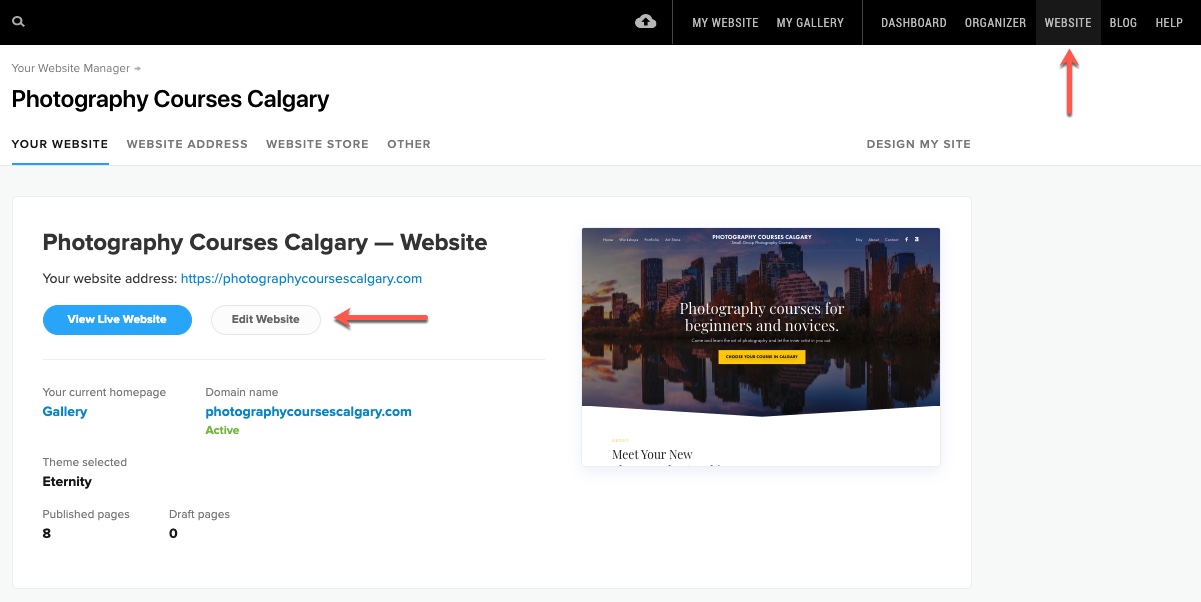
Once you’ve added all of your products to their respective categories, navigate to your website builder in the SlickPic manager. From there, you can customize the appearance of your store and make it accessible to customers.
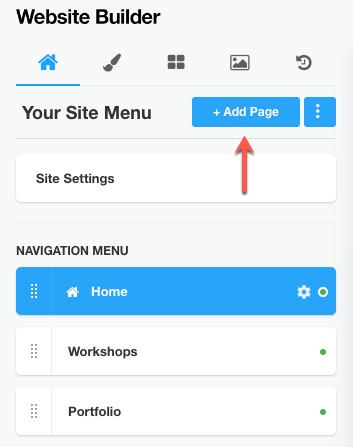
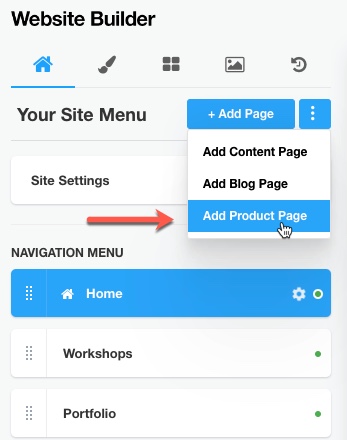
To display your workshop product grid, create a new page in your website builder by clicking the “+ Add Page” button to place your Workshop Product Grid.
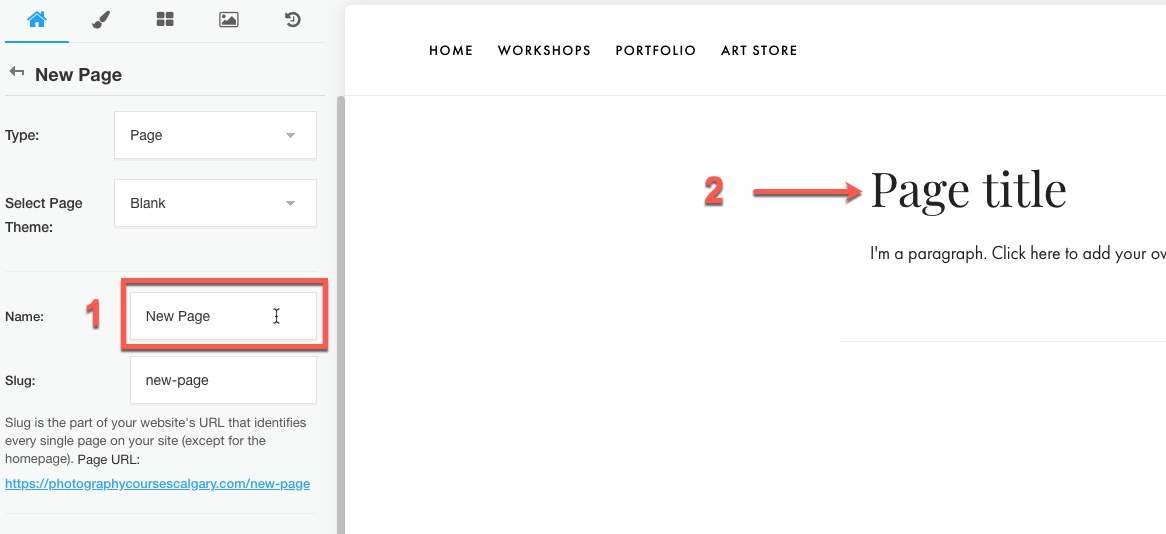
When creating a new page for your workshop products, choose a descriptive name and page title that accurately reflects what your customers will find on that page.
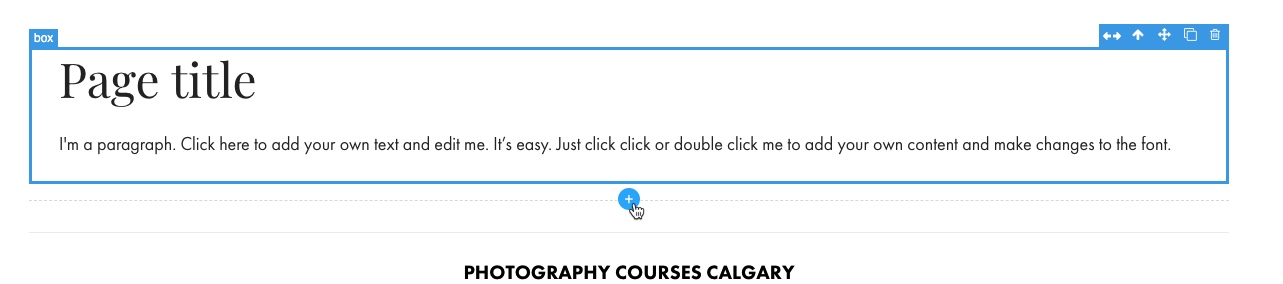
To add your workshop product grid to the new page, click the “+” icon and select the product grid photos you want to display.
Scroll down to the “Sales” section and select “Product Grid.”
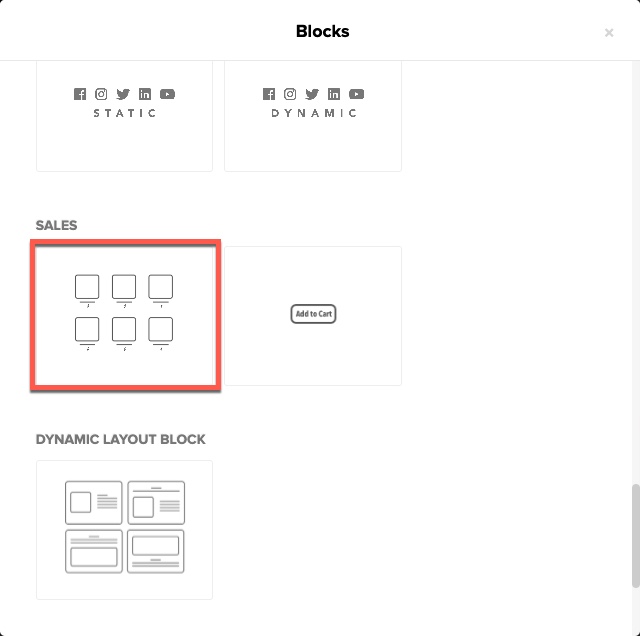
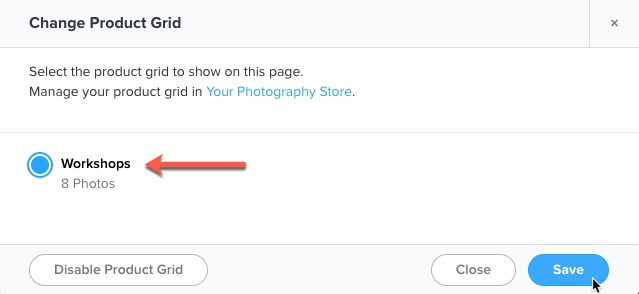
To open your product grid window in the SlickPic website manager, click “Select Product Grid.”

To display your workshop product grid on the new page, select the “Workshop Grid Photo” category and click “Save.”
Once you’ve saved your workshop product grid settings, your grid photos will automatically be added to your website page as shown below.

To create a product page for a selected workshop product, click the three-dot button and select “Add Product Page.” This will allow you to showcase the product’s details, pricing, and shipping information to your customers.
No additional content needs to be added to the product page created from the workshop product grid, as it will automatically display all relevant details for each product in the grid.

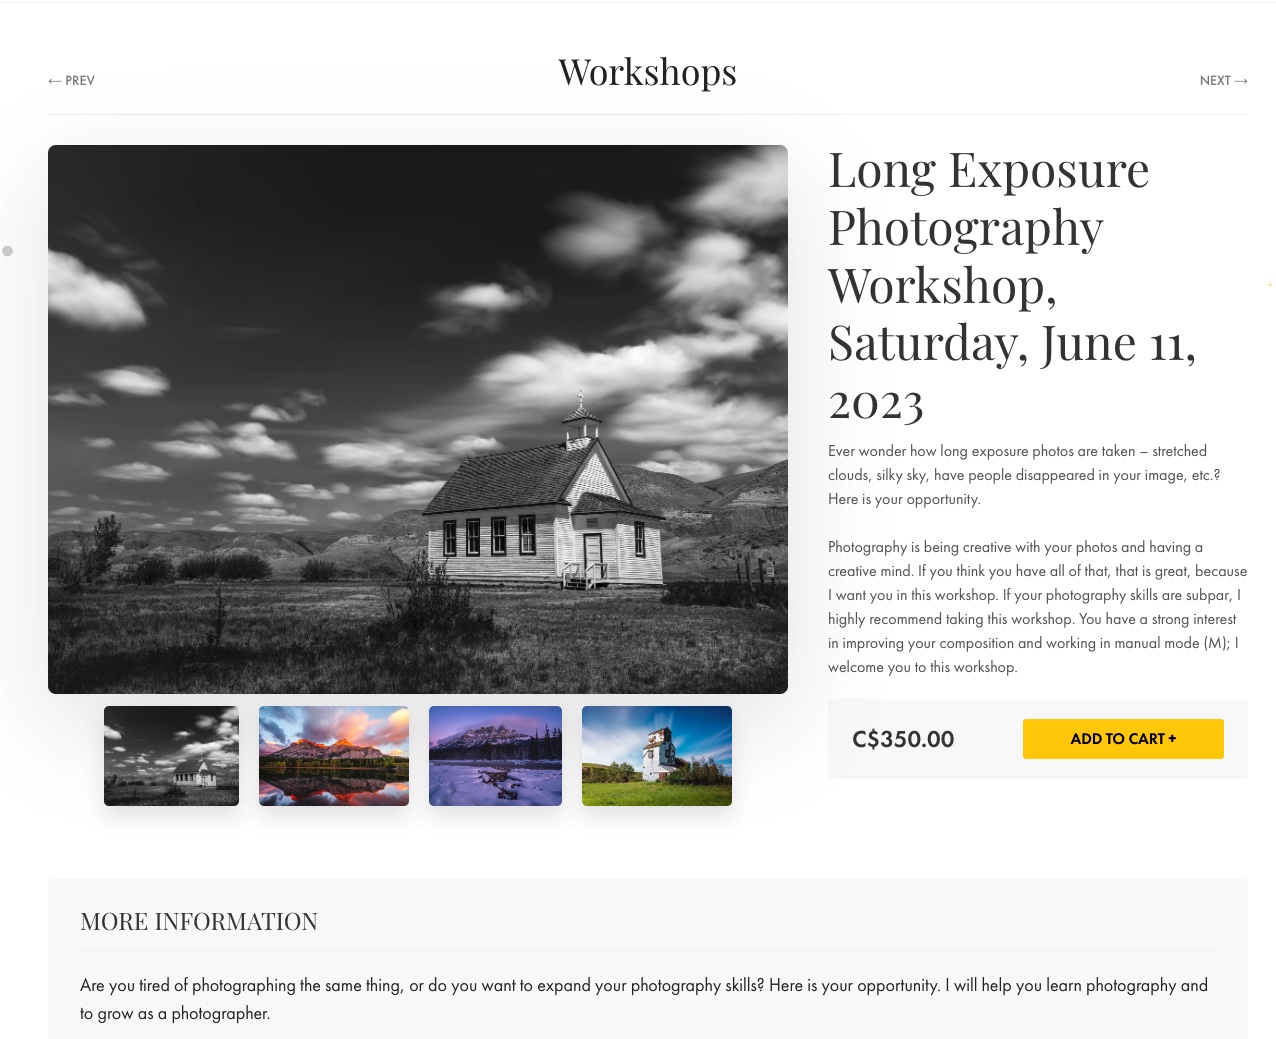
Upon completing the workshop product grid setup, you will be able to see a finished grid of your workshop products, ready for customers to browse and purchase.
Demo 1:
Workshop Grid page

Demo 2:
Workshop product page