
Once you have chosen a theme, you can customize that theme by changing the placeholder text and photos.
Select the page you want to customize from the site menu.

Customizing the Text
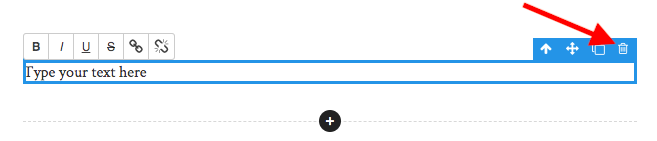
Click any of the text blocks to edit them, or remove them entirely by clicking the ‘trash’ icon on the tools menu when the block is highlighted.
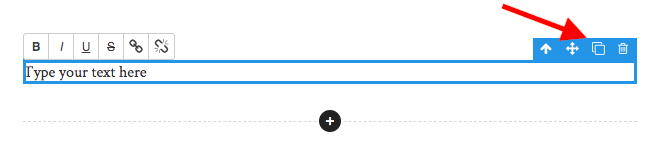
You can also duplicate text blocks. Just use the ‘copy’ icon next to the trash in the tools menu.
You can find out more about how to manipulate the text blocks in the article: How to Create a Page Using Layouts.
Customizing the Photos
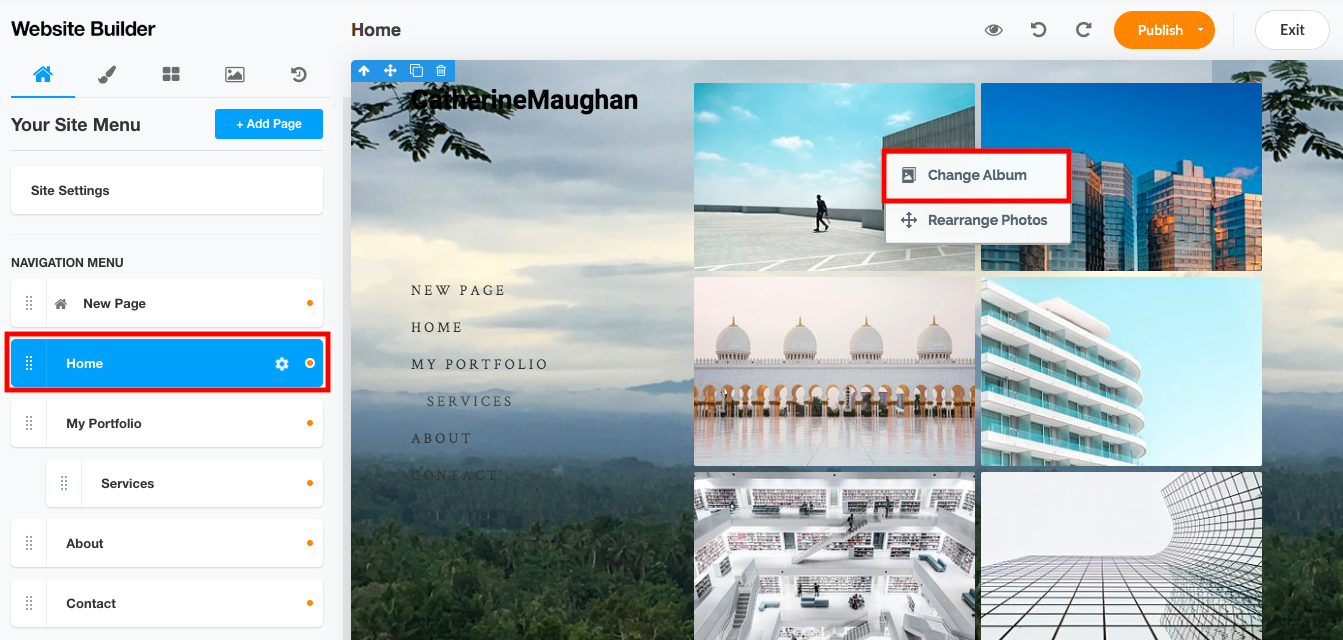
To change the theme photos for your own photos, just click Change Album which appears on your photos.
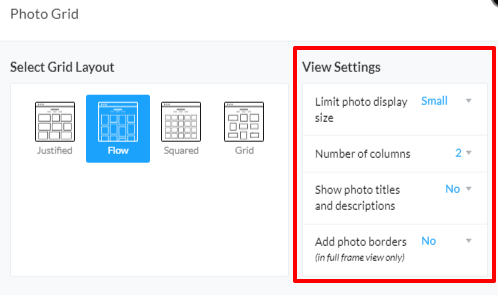
Here you can choose the grid layout that you want to display your photos in and choose the album you want to add.
You can upload a New Album (this automatically adds the new album to your Organizer as well – you can find out more in the article How to Upload Photos to SlickPic).
Click Create New Album to add your photos to the site.
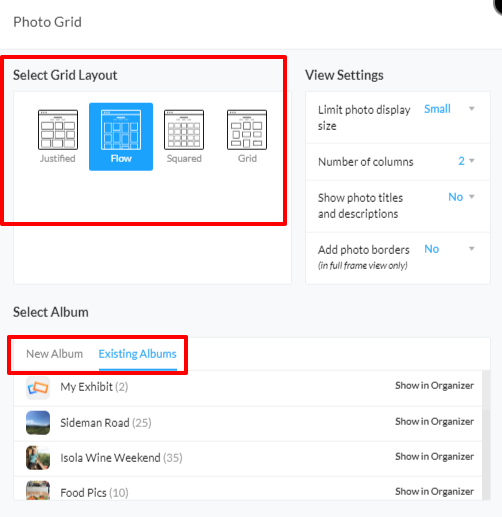
Or, choose from Existing Albums already uploaded to SlickPic – either through the Website Builder, the Gallery, or via Lightroom.
If you want to use an Existing Album, you will see a list of all the albums you have previously uploaded to the Organizer.
You can preview the album to see what photos you have in it. Just click Show in Organizer and your SlickPic album will open in a new tab.
Once the photos are uploaded, they will display on your site in the grid layout you selected earlier but you can adjust this if you like. Click Change Album again and edit the number of columns, the image display size, add borders or show the names and descriptions of your photos.
Rearranging your Photos
If you want your photos to display in a different order in your Portfolio Website to how they are organized in your album, there are two different ways you can do this.
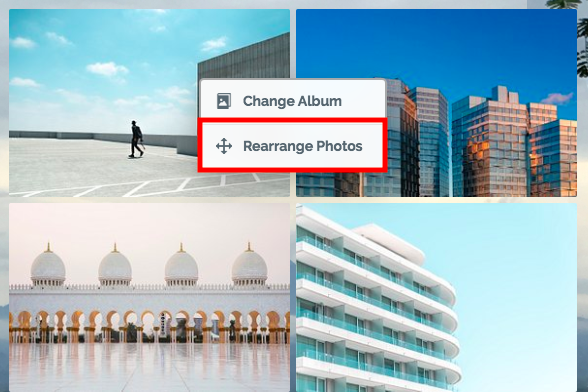
One way is to reorganize them directly in the Organizer. You can do this when you are actually uploading them, just click Rearrange Photos.
You can also do this directly in the SlickPic Organizer, either before or after the photos have been uploaded to the Website Builder. Any changes you make will be automatically shown on your website.
The other way is to reorganize your photos directly in the Website Builder. Just click Rearrange Photos.
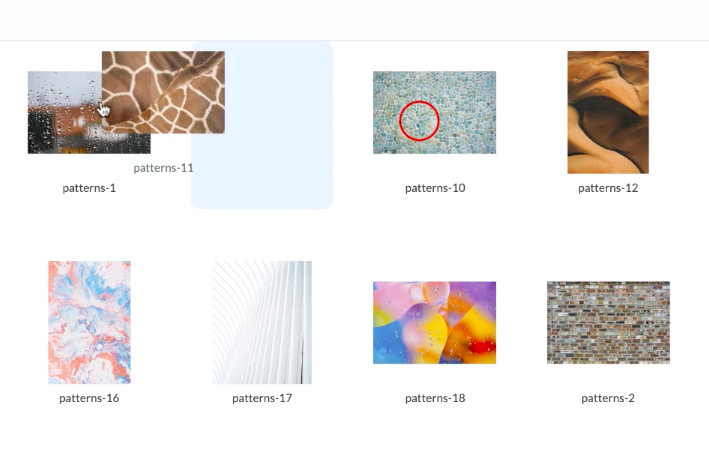
This will open the album in edit mode and you can just click and drag your photos into the order that suits you.
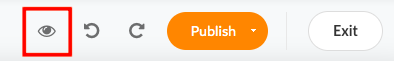
See how your site would look to visitors by clicking the Preview icon at any point.
Changing the Name of the Page
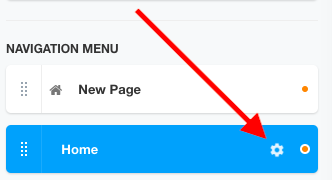
You may want to change the names of the pages in the menu. To do this, just click the settings icon next to the page name.
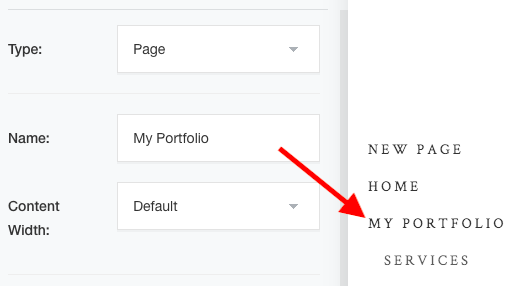
In the Name field, write the page name as you would like it to be displayed to your site visitors.
Duplicating, Deleting or Hiding Pages
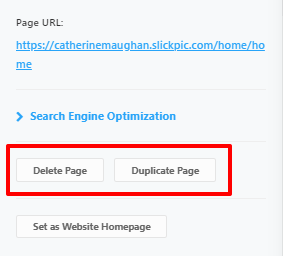
You can duplicate or delete pages using the buttons at the bottom of the options panel. To create a duplicate, click Duplicate Page and then just change the title and customize it as you wish.
The Delete Page button is next to the Duplicate button. You will see a confirmation message to make sure you are sure before you delete the page.
Hide pages from the navigation menu and they will not appear on your menu and will not be visible to guests unless you send them the direct link to the page.
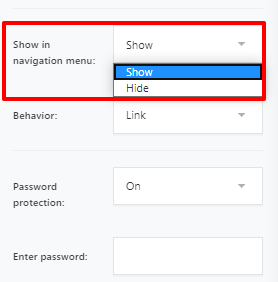
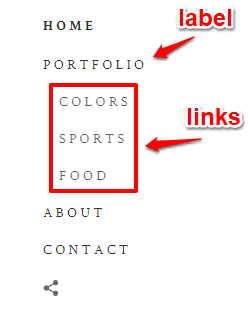
If you want to show it in the menu, you can use the Behavior option to make the menu item behave as a label rather than a link. This lets you create a page title which is just used as a placeholder for other sub-pages.
You can set additional security by adding password protection to the page. Select On from the Password Protection menu and a text field will open up where you can enter a password of your choice.
For more information on how to layout your page, see the article: How to Create a Page Using Layouts.