
Setting Sharing Permissions
Open the Organizer by selecting it from the navigation menu.

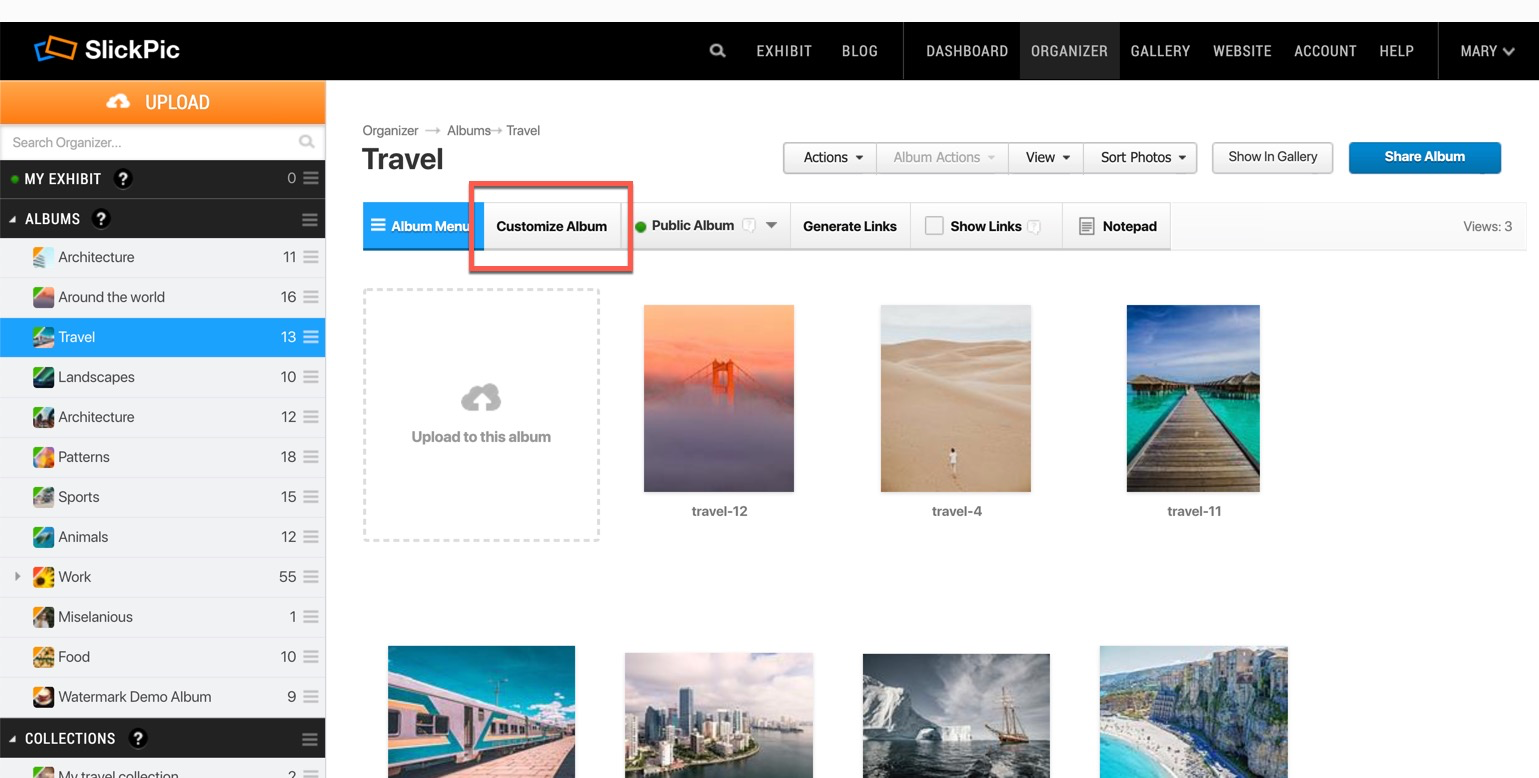
Navigate to the album that you want to allow your users to download and select Customize Album from the album menu.
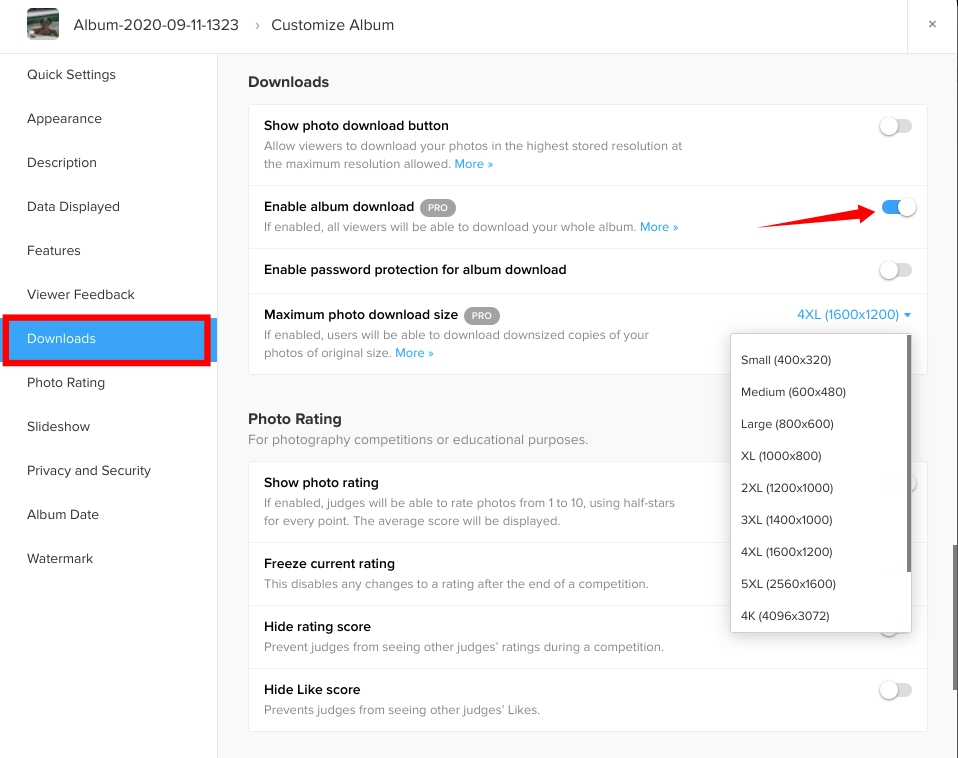
In the pop-up that opens, go to Downloads on the side menu. Then, use the toggle to Enable Album Download.
This enables the setting Enable password protection for album download. Use this to ensure only those with the password are able to download your album.
You can also manage what size the photos will be downloaded in. If you want users to be able to download them as they are, choose Original.
Downloading the Album
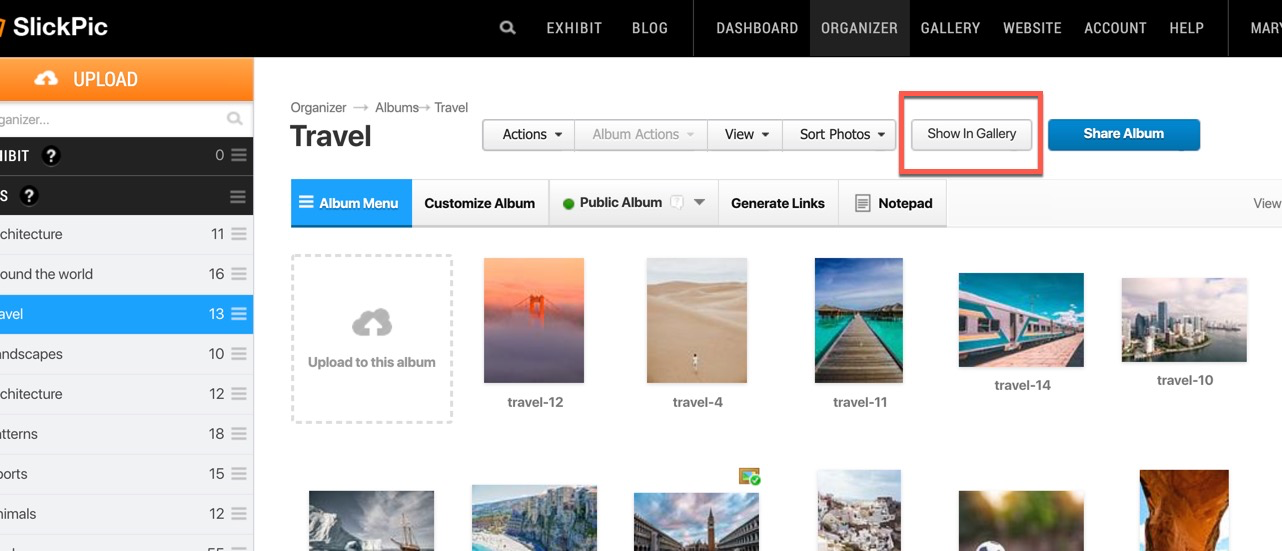
Once you have adjusted the album settings, the album is ready to be downloaded by visitors. See how this will look to visitors by viewing it in the Gallery.
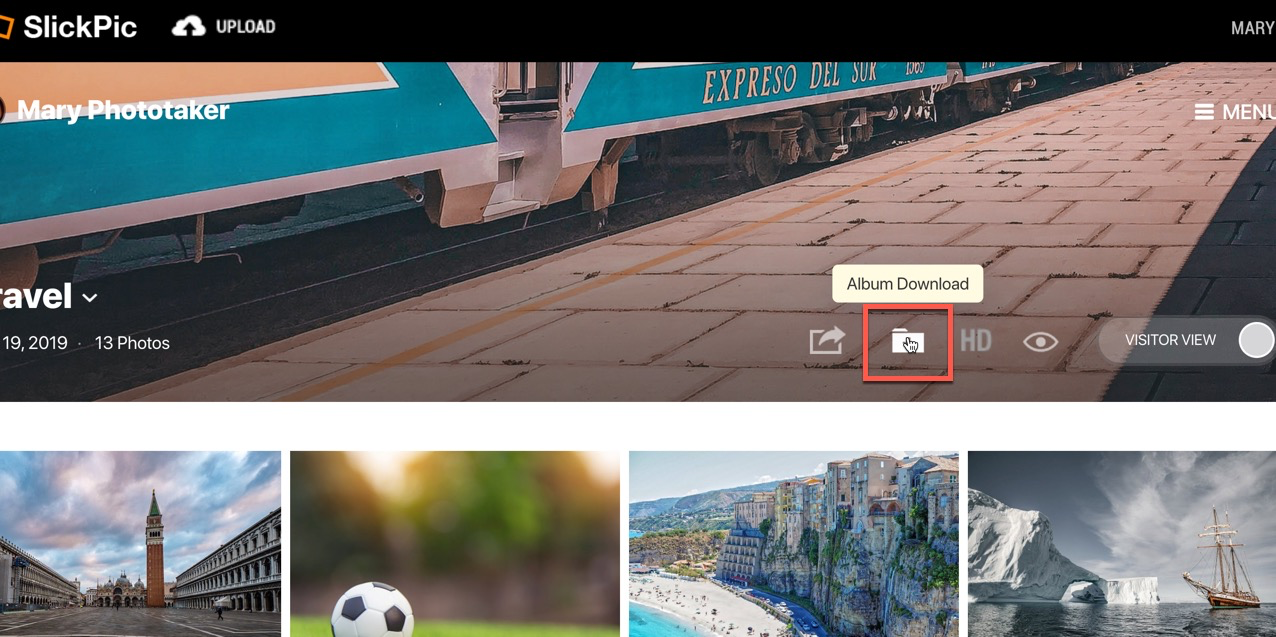
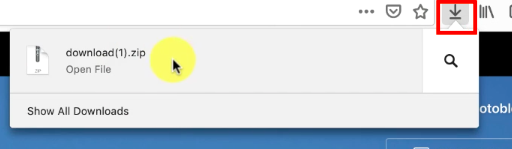
From the Gallery page, you can see a download icon has been added. Visitors to your site will see this and will be able to download the album by clicking the icon.
Users should follow the instructions for downloading the album folder on their device.
If the album is a group upload album, the name of the uploader will appear on the file name.
Setting Individual Sharing Permissions
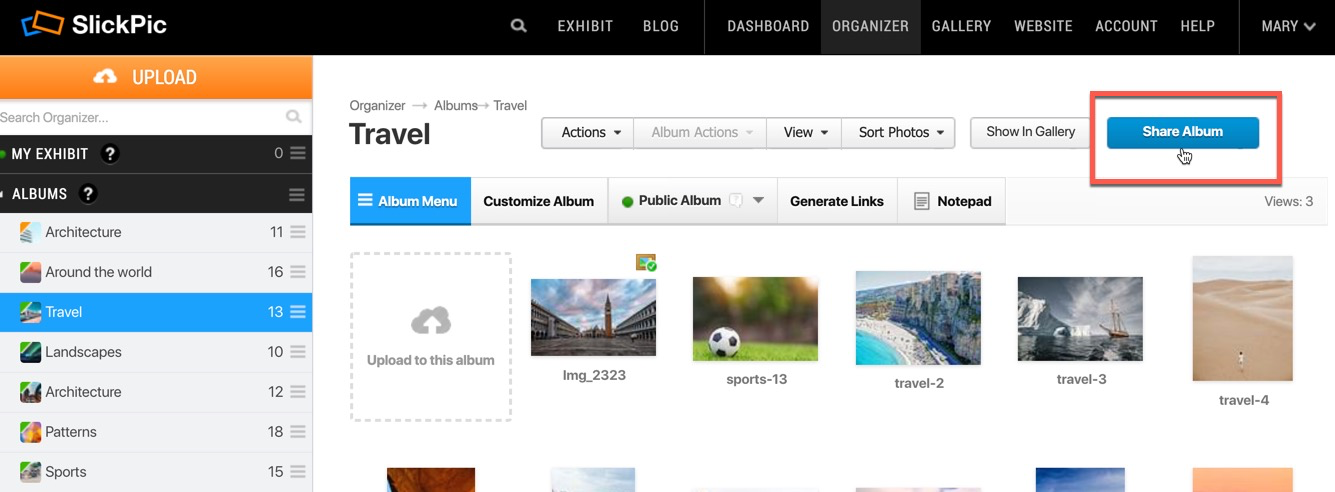
If you don’t want everyone who visits the gallery to be able to download your album, but would like to enable this option for some users, you can set individual sharing permissions. To do this, from the album page go to Share Album.
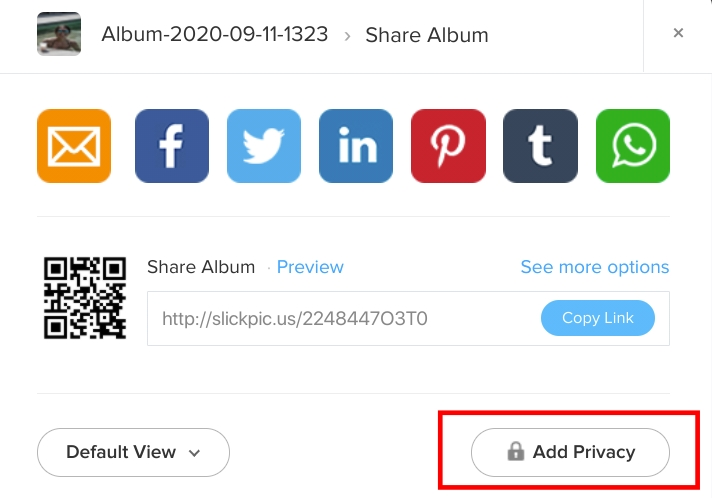
In the Share Album Window, you have the usual options for sharing the album with visitors. Before sharing, click Add Privacy.
In the privacy settings, choose Enable Album Download. Then, when you share the album with visitors, they will have the option to download the album. You can also add password protection, preventing users from sharing the download link with others.
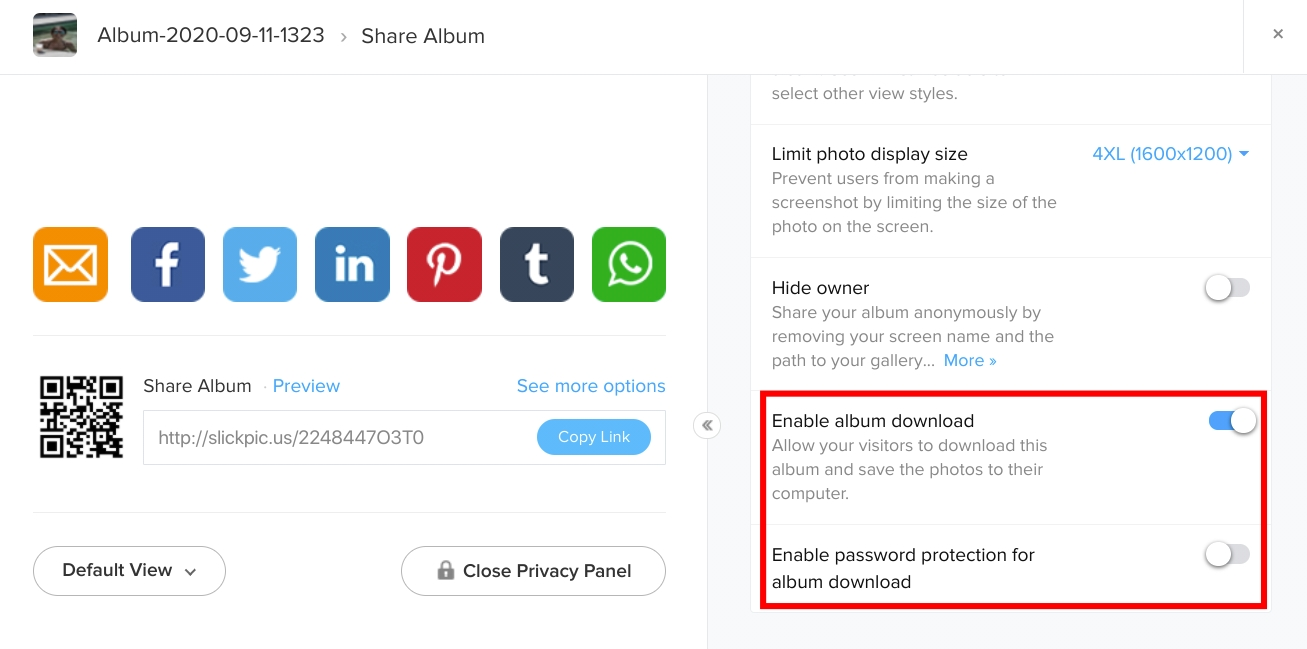
All the privacy options you set in this particular share will only be applied to this link and will not affect the existing album settings. Make sure your album settings are restrictive enough so all viewers will see only what you want them to see.